Hello world
The most basic app you can make with Capy are lines required for Capy to work. For example:
const capy = @import("capy");
pub usingnamespace capy.cross_platform;

pub fn main() !void {
    try capy.init();
}
The use of pub usingnamespace capy.cross_platform; is useful for making your GUI work on some
platform with different ways of workings, like WebAssembly
Using capy.init() initializes capy. This is necessary on all platforms. Otherwise, Capy will
crash.
To execute the app, you have to type the following command
zig build run
Creating a window
It might be interesting for the program to actually do something, like displaying a window
For that, you can inititialize a window, set its size and display it.
const capy = @import("capy");
pub usingnamespace capy.cross_platform;

pub fn main() !void {
    try capy.init();

    var window = try capy.Window.init();
    window.setPreferredSize(800, 600);
    window.show();
    capy.runEventLoop();
}
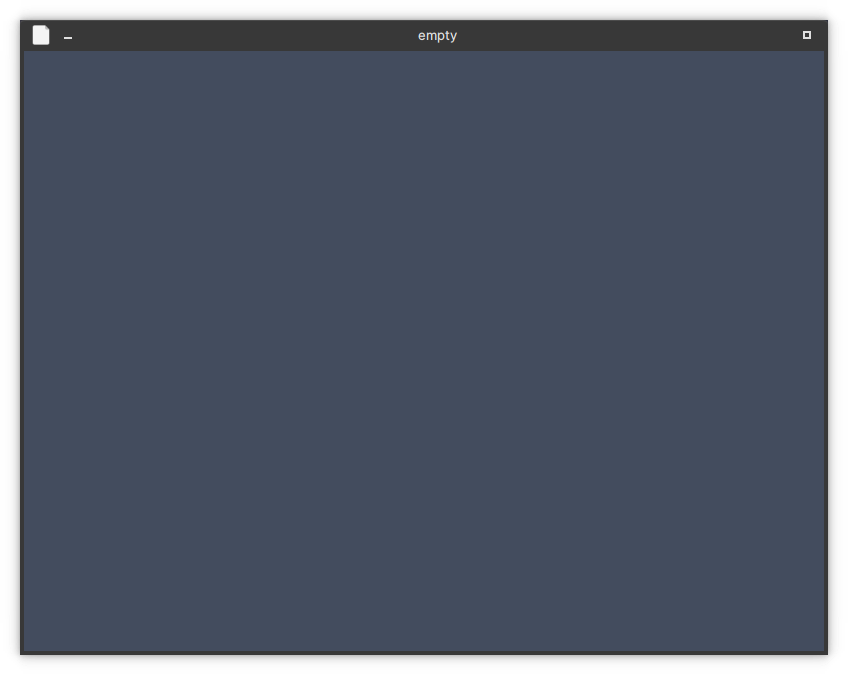
Running this shows an empty window.
Notice that we added a call to the function capy.runEventLoop(). You need to use it in order to
start the event loop, which lets the app listen to the OS and avoids having an unresponsive window.
Adding a button
This is nice, but an empty window is as useful as an unwearable shoe. Adding a button seems like the next logical step.
For that, we can use the window.set() function and the Button widget to see how to initialize a widget.
First, in capy you create a widget using a function. So for a button, we would use Button( something here ).
Widgets are configured using a single struct that is always placed first. For now, we will only use the label field.
This means we can easily have a labelled button Button(.{ .label = "A Button" }). Then we just need to put that button as argument to the try window.set(anywidget) function.
In the documentation, anywidget, which is implemented using anytype, refers to any widget
constructed with their function or the Widget type.
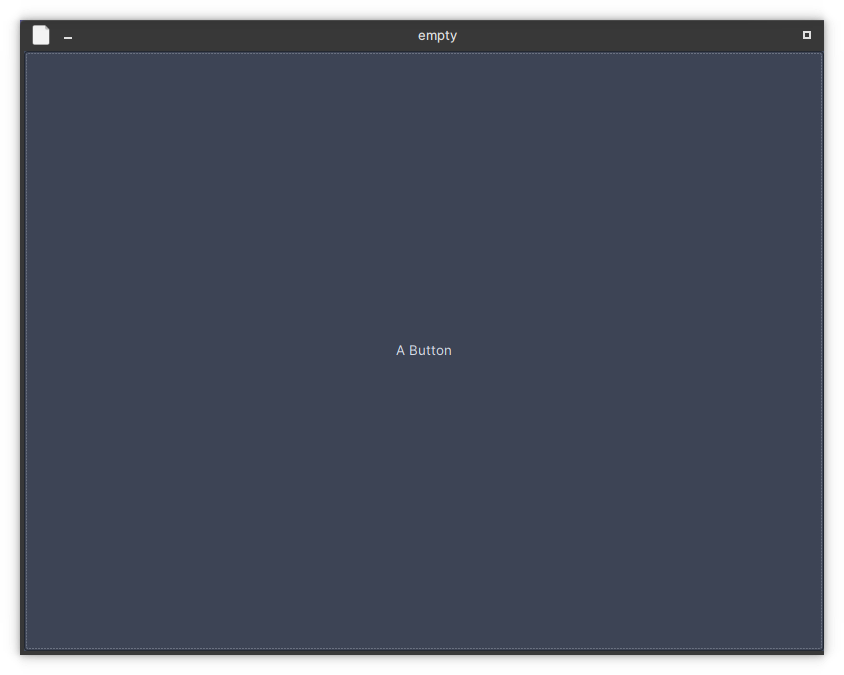
So let's set capy.button(.{ .label = "A Button" }) as our window's widget:
const capy = @import("capy");
pub usingnamespace capy.cross_platform;

pub fn main() !void {
    window.setPreferredSize(800, 600);
    try window.set(
        capy.button(.{ .label = "A Button" })
    );
    window.show();
}
To know how to use Capy to make more things, you can look at the available examples which feature animations (colors.zig), custom components (graph.zig), and a simple calculator.